
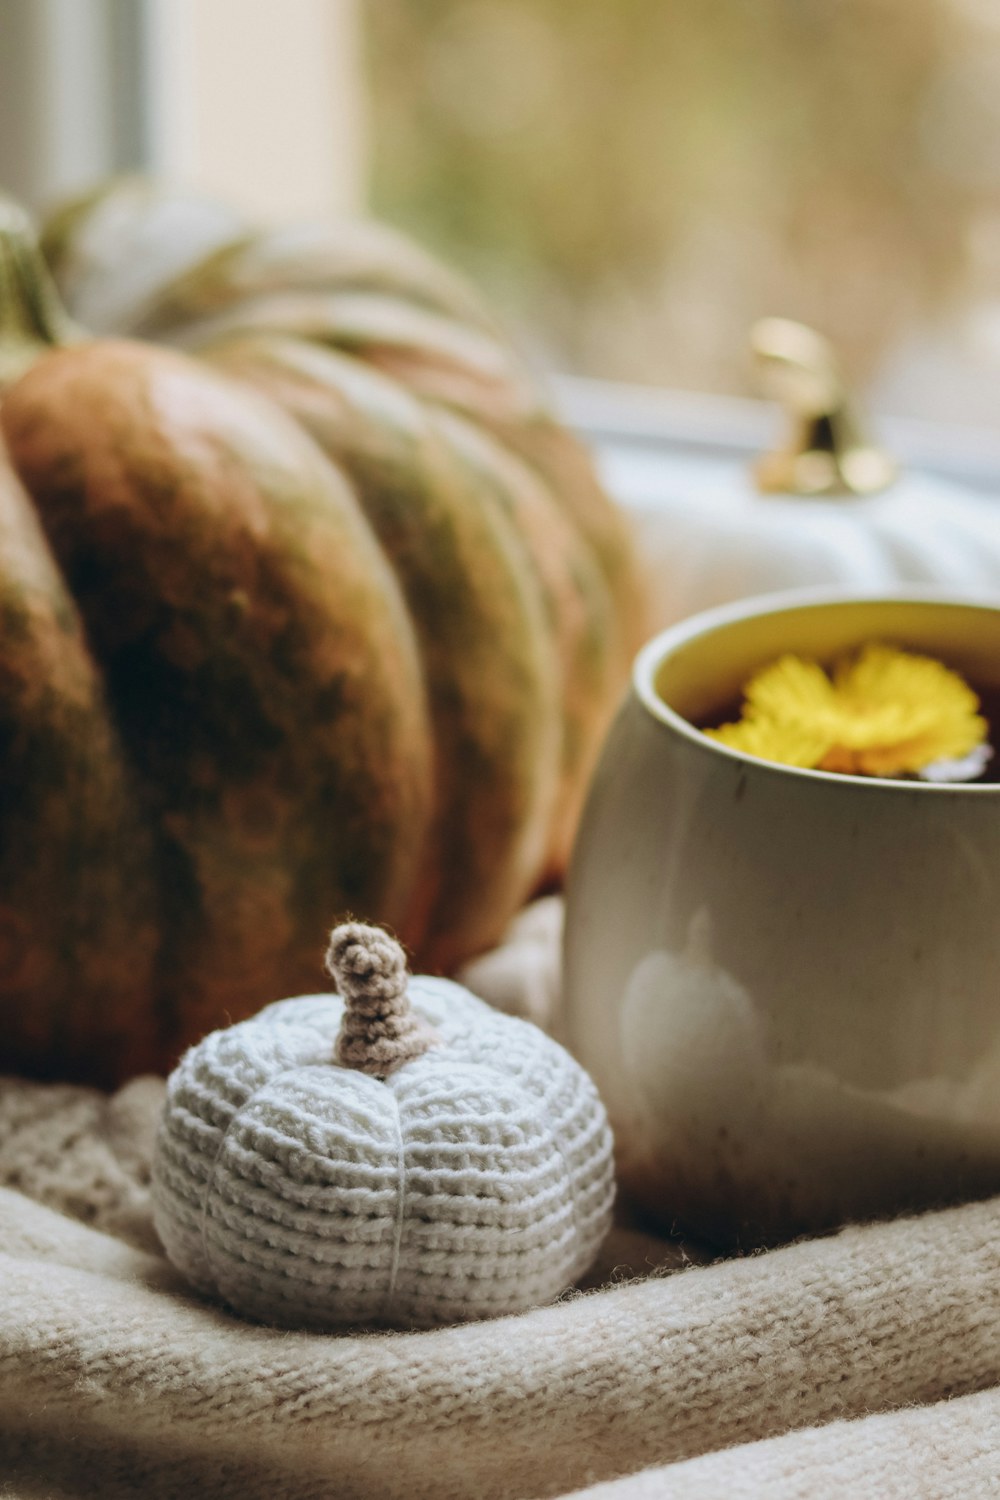
This easy crochet pumpkin pattern turns one flat ribbed rectangle into a soft fall decoration. There are no complicated increases to track: you crochet to a measurement, seam the short edges, gather the top and bottom, then shape the pumpkin with yarn.
The sample method works in any yarn weight, so it is useful for scrap yarn and coordinated autumn displays. Instructions use US crochet terminology.
Quick pattern details
- Skill level: confident beginner
- Construction: flat rectangle, seamed and gathered
- Suggested finished size: about 5 in (13 cm) wide
- Main stitch: half double crochet in the back loop
Materials
- 80–110 yd (73–101 m) worsted-weight yarn in pumpkin color
- 4.5 mm crochet hook, or size needed for a firm fabric
- A small amount of brown or green yarn for the stem
- Polyester stuffing
- Yarn needle, scissors, stitch marker, and measuring tape
Abbreviations
- ch: chain
- hdc: half double crochet
- BLO: back loop only
- st(s): stitch(es)
Before you begin
Make the fabric firm enough that stuffing will not show. Gauge is not critical, but the rectangle should be roughly twice as long as it is tall before seaming. For a 5-inch pumpkin, aim for a rectangle about 10 × 5 inches (25 × 13 cm).
Step-by-step instructions
Crochet the ribbed rectangle
Chain 21. Hdc in the second chain from the hook and in each chain across; you will have 20 hdc. Chain 1 and turn. On every following row, hdc BLO across, chain 1, and turn. Continue until the strip measures about 10 inches (25 cm) long. End after a complete row.
Seam the tube
Fold the rectangle so the foundation edge meets the final row. Slip stitch through both layers or whipstitch the edges together. Fasten off, leaving a 24-inch (60 cm) tail. Turn the tube so the seam sits inside.
Gather and stuff
Thread the long tail through the yarn needle. Run it in and out around one open edge, catching each row end. Pull tightly, make several secure stitches across the opening, and knot. Turn the piece right side out and add stuffing in small pieces. Keep the pumpkin rounded rather than hard-packed.
Close the second opening
Use another long strand to gather the remaining edge. Pull it closed slowly, add a little more stuffing if needed, and secure the opening with several crossing stitches.
Shape the pumpkin
With a long matching strand, bring the needle from the center bottom to the center top. Wrap the yarn around the outside and pass through the centers again. Pull gently to form a groove. Repeat five or six times, spacing the wraps evenly, then knot underneath.
Add a stem
For a simple stem, chain 8 with brown yarn, slip stitch back along the chain, coil it, and sew it over the top opening. A short piece of cinnamon stick can be decorative, but yarn is the safer washable option.
Troubleshooting and useful tips
- If the stuffing shows, use a smaller hook or add a fabric lining pouch.
- If the pumpkin looks tall and narrow, add more rows before seaming; if it is very flat, begin with a taller rectangle.
- Do not pull the shaping strands so hard that they cut deeply into the fabric.
- Weave tails through several directions so the gathered centers stay closed.
Ways to customize it
- Make three sizes by changing both rectangle dimensions while keeping the 2:1 length-to-height ratio.
- Use cream, sage, rust, or ochre yarn for a modern fall palette.
- Add a crocheted leaf instead of beads or glued decorations when the pumpkin will be handled by children.
Frequently asked questions
Can I use velvet yarn?
Yes. Use a hook that creates a dense fabric and stitch slowly because the ribbing is harder to see.
How much stuffing should I use?
Add enough for a smooth rounded shape while leaving the fabric flexible enough to form six grooves.
Can the pumpkin be washed?
A yarn stem and washable stuffing make care easier. Follow the yarn label and place the pumpkin in a mesh laundry bag.
Keep learning
New to hook and yarn labels? Read crochet hook sizes explained and how to choose yarn for crochet.
Photo: Julia Ivanina / Unsplash.