
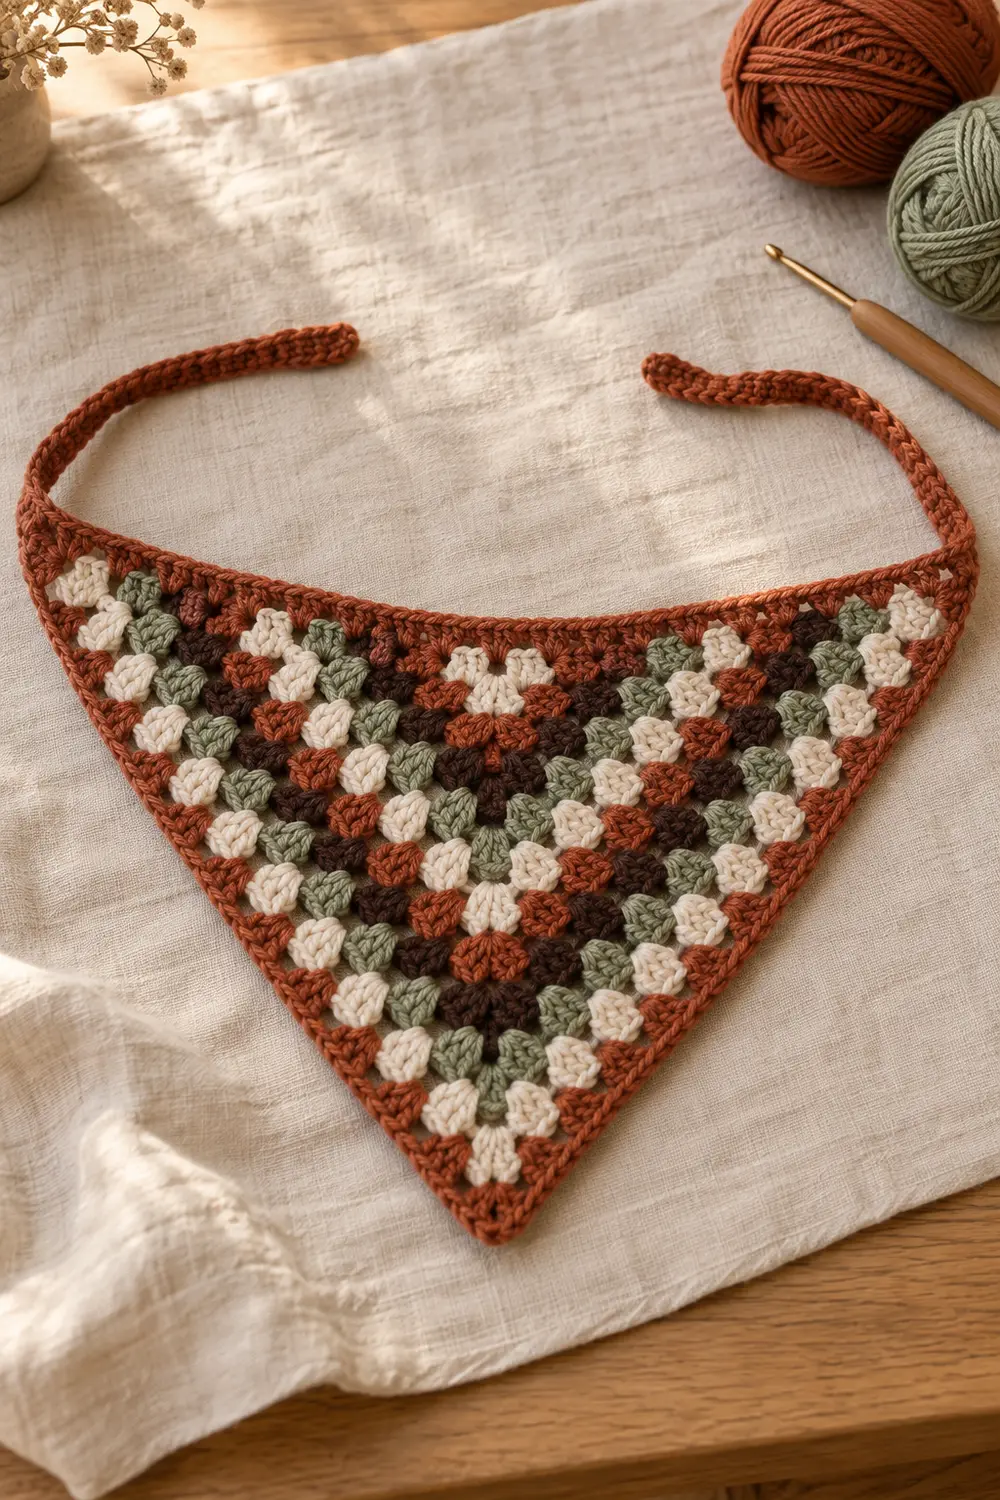
This free granny stitch triangle bandana pattern turns simple double-crochet clusters into a lightweight accessory with adjustable ties. The triangle grows from the top centre, so you can try it on as you work and stop when the width fits comfortably. The pattern uses US crochet terms and includes sizing, colour planning, finishing, and troubleshooting notes.
Skill level: confident beginner. Finished size: approximately 19 inches across the top and 9 inches deep before ties; adjust by adding or removing rows. Construction: top-down triangle worked in turned rows.
Materials
Use approximately 120–160 yards of smooth worsted-weight cotton or cotton-blend yarn in one colour or several small amounts. You will also need a US H-8 (5 mm) crochet hook, scissors, a yarn needle, and two stitch markers. Choose a medium or light yarn colour while learning so the chain spaces are easy to see.
Abbreviations in US Terms
ch chain; dc double crochet; sl st slip stitch; sp space; st stitch. A granny cluster means three double crochet stitches worked into the same space.
Gauge and Fit
Exact gauge is not essential because the bandana is measured as it grows. Four granny rows should measure roughly 3–3½ inches deep with worsted-weight yarn. If the fabric feels stiff, move up one hook size. If the holes feel too open or the bandana loses shape, move down one hook size.
Triangle Bandana Pattern
Foundation and Row 1
Chain 4. Work 2 double crochet into the first chain, chain 2, then work 3 double crochet into the same chain. Turn. The chain-2 space is the centre point of the triangle.
Row 2
Chain 3; this counts as the first double crochet. Work 2 double crochet into the first stitch, chain 1, then work 3 double crochet, chain 2, and 3 double crochet into the centre chain-2 space. Chain 1 and work 3 double crochet into the top of the beginning chain from the previous row. Turn.
Row 3 and Following Rows
Chain 3 and work 2 double crochet into the first stitch. Chain 1. Work one 3-double-crochet cluster into every chain-1 space until you reach the centre. In the centre chain-2 space work 3 double crochet, chain 2, and 3 double crochet. Chain 1, work one cluster in every chain-1 space across the second half, then finish with 3 double crochet in the top of the turning chain. Turn.
Repeat the previous row until the top edge measures about 18–20 inches or the triangle covers the head the way you prefer. Change colours only at the end of a row. Leave tails long enough to weave securely.
Add the Ties
At the first top corner, join yarn and chain 55–70, depending on the tie length you want. Slip stitch back along the chain for a firm cord, then fasten off at the corner. Repeat at the opposite corner. For a softer tie, work one row of single crochet back along each chain instead.
Optional Border
Join yarn at one top corner and work single crochet evenly down the first diagonal edge. Place 3 single crochet in the bottom point, then work evenly up the second diagonal edge. Keep the top edge unworked so it remains flexible, or add one loose row of single crochet if it needs more structure.
Common Problems
The triangle curls: the hook may be too small or the centre chain space may be too tight. The sides are uneven: check that every row begins and ends with the same edge cluster. The centre bends sideways: mark the chain-2 centre and work the full increase into it on every row. The ties stretch: slip stitch or single crochet back along the chains.
Care and Customization
Cotton gives crisp stitch definition and works well for warm weather. A soft acrylic or wool blend creates a warmer fall bandana. Make a solid colour version, use two-row stripes, or turn leftover yarn into a controlled scrap palette. Wash according to the yarn label, reshape the triangle, and dry flat.
Keep Learning with EmmaCrochet
Explore more projects in the Free Crochet Patterns library, or review yarn, hook, and stitch guidance in Crochet Stitches & Skills.