
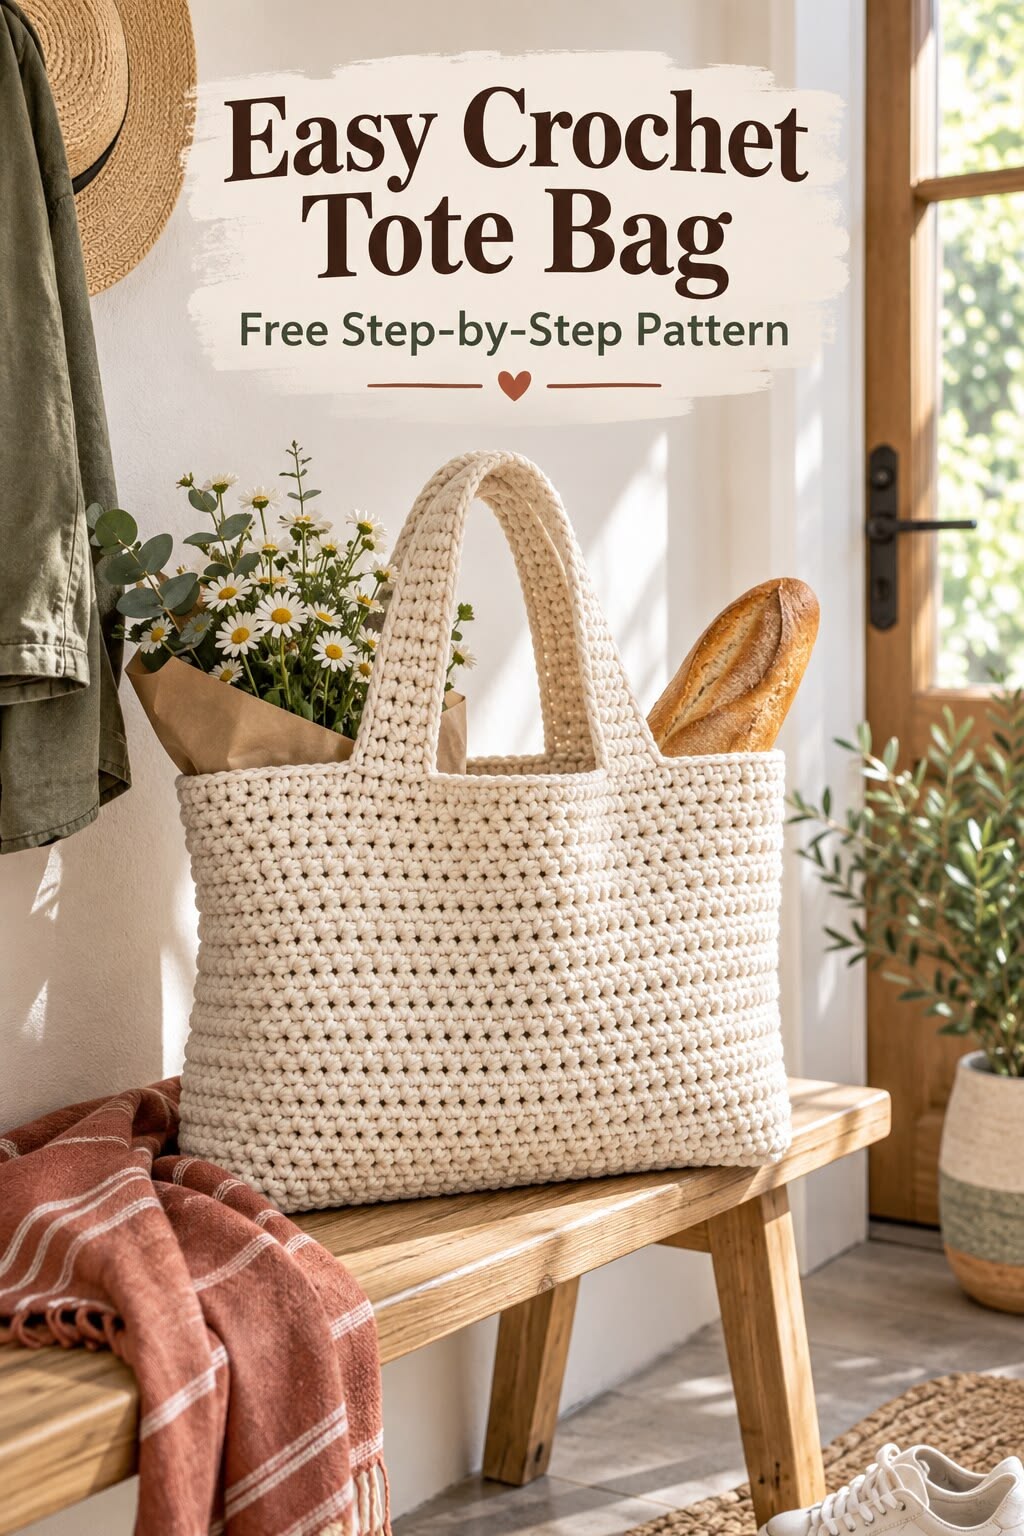
This beginner-friendly tote is made from two matching flat panels. A solid lower band helps the bag keep its shape, the mesh section keeps it light, and a second solid band gives the handles a firm place to attach. Because the panels are worked separately, you can easily make the bag wider, taller, or both.
Pattern terms: US crochet terminology. Skill level: confident beginner. The sample instructions produce a medium tote, but gauge and yarn choice will change the final measurements.
Materials
- Medium (worsted-weight) cotton yarn; approximately 350–500 yards
- 5 mm crochet hook, or a size that creates a firm but flexible fabric
- Yarn needle, scissors, and stitch markers
- Optional fabric lining for carrying small objects
Abbreviations
- ch: chain
- sc: single crochet
- dc: double crochet
- sl st: slip stitch
- st(s): stitch(es)
- ch-1 sp: chain-one space
Panel instructions — make two
Solid lower band
- Foundation: Chain 42.
- Row 1: Sc in the second chain from the hook and in every chain across. You should have 41 sc. Chain 1 and turn.
- Rows 2–6: Sc in every stitch across. Chain 1 and turn after Rows 2–5; do not turn after the final row until you are ready for the mesh.
Mesh body
Mesh Row 1: Chain 4; this counts as 1 dc plus ch 1. Skip the next stitch, dc in the following stitch. Repeat ch 1, skip 1 stitch, dc in the next stitch across. The last dc should land in the final stitch. Turn.
Mesh Row 2: Chain 4. Skip the first ch-1 space and dc in the next dc. Repeat ch 1, dc in the next dc across, ending with a dc in the third chain of the turning chain. Turn.
Repeat Mesh Row 2 until the mesh measures about 25–30 cm, or until the panel is as tall as you want before the top band. Count the vertical dc posts occasionally; keeping the same number is the easiest way to spot a missed space.
Solid top band
First solid row: Chain 1 and turn. Work 1 sc in each dc and 1 sc in each ch-1 space across. You should return to 41 sc. Work 5 more rows of sc. Fasten off, leaving a long tail on one panel for seaming.
Straps — make two
- Chain 71, or chain until the strap is your preferred length.
- Sc in the second chain from the hook and across; 70 sc for the suggested chain.
- Chain 1, turn, and sc across. Repeat until the strap is 4 rows wide. Fasten off with a long sewing tail.
Assembly
- Place the panels together with the sides you want outside facing each other.
- Using a yarn needle and a firm whip stitch, seam one side, the bottom, and the second side. Leave the top open. Turn the bag right side out.
- Mark equal handle positions on both panels. Sew each strap end to the inside of the top band using a square with an X through it. Pass through the fabric several times, because the handle joins carry the bag’s weight.
- Weave in every end. Stretch the bag gently into shape, then wash or steam only as recommended on the yarn label.
Fit, strength, and safety notes
Cotton is a practical bag yarn because it has less stretch than many acrylic yarns. Mesh bags still stretch under weight, so make the body a little shorter than your ideal loaded length. A lining is recommended for keys, crochet hooks, or other small items that can slip through the mesh. This is a handmade market tote, not a carrier for children or pets.
Troubleshooting
- The panel narrows: a dc post or the turning chain was probably missed. Count each mesh row.
- The top band ripples: check that you placed exactly one sc in each dc and each ch-1 space.
- The handles stretch: shorten them, add another sc row, or sew cotton tape behind them.
- The seam feels bulky: use mattress stitch through the outer loops instead of a whip stitch.
Practice the mesh first with the double crochet mesh stitch guide, and review how to keep crochet edges straight if your panels change width.
Photo: Colton Sturgeon / Unsplash.