
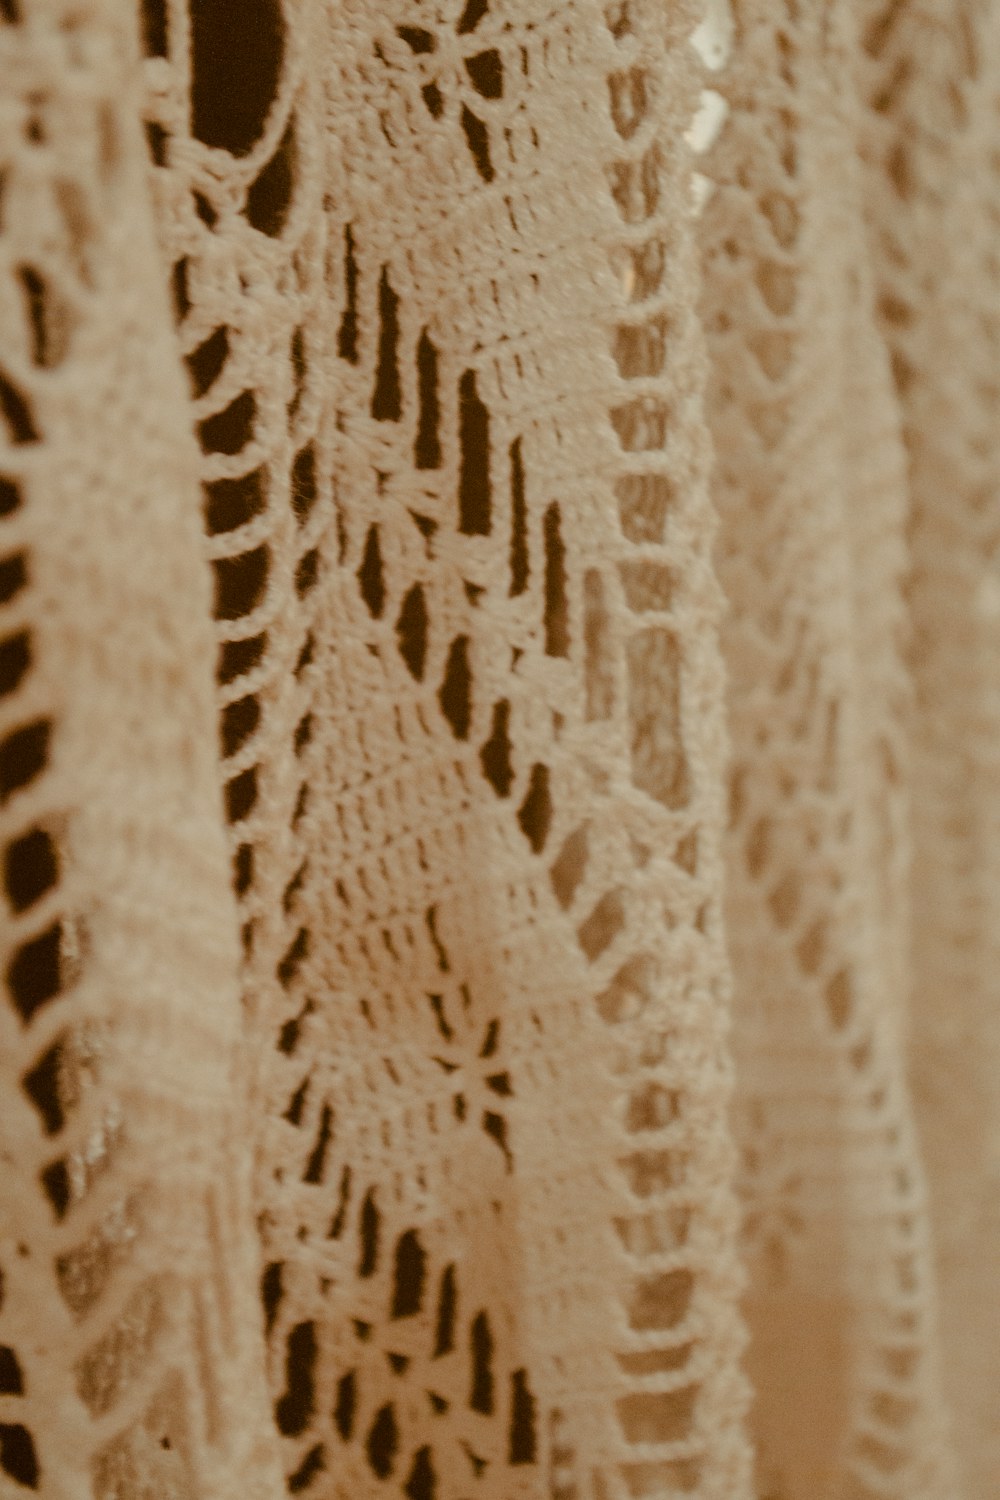
This easy crochet lace collar pattern adds a soft handmade detail to a plain top or dress. The neckline is a made-to-measure band, while a simple shell row creates the decorative lower edge.
The collar is designed as a removable accessory rather than being sewn permanently to clothing. Work a test section first because cotton threads and lightweight yarns can change size after blocking.
Quick pattern details
- Skill level: confident beginner
- Construction: worked in rows from neckline down
- Fit: custom neck measurement
- US crochet terminology
Materials
- 100–160 yd (91–146 m) sport or DK cotton
- 3–3.5 mm crochet hook
- Yarn needle, scissors, measuring tape, and blocking pins
- Optional narrow ribbon for ties
Abbreviations
- ch: chain
- sc: single crochet
- dc: double crochet
- sl st: slip stitch
- st(s): stitch(es)
Before you begin
Measure loosely around the neckline where the collar will sit and subtract about 1 inch for the tie gap. Make a foundation chain in a multiple of 6 plus 1 until it reaches that measurement.
Step-by-step instructions
Neckline row
Chain a multiple of 6 plus 1. Sc in the second chain from the hook and in every chain across. Chain 1 and turn.
Stabilizing row
Sc in every stitch across. This firm band keeps the collar from stretching. Chain 3 and turn; the chain counts as the first dc.
Shell row
Skip 2 stitches, work 5 dc in the next stitch, skip 2 stitches, and sc in the next stitch. Repeat across. If a partial repeat remains, end with an sc positioned symmetrically.
Optional depth row
Chain 3 and turn. Work 2 dc in the first sc, sc in the center dc of the next shell, then 5 dc in the next sc. Repeat, ending with 3 dc in the final sc.
Add ties
Join yarn to one top corner, chain 45–60, and slip stitch back along the chain. Repeat at the other corner. Alternatively, weave ribbon through the corner stitches.
Block the collar
Pin the neckline into a gentle curve and open each shell evenly. Wet block and allow it to dry before trying it on.
Troubleshooting and useful tips
- A foundation that is too long will make the collar droop.
- Use cotton for crisp shells and easy blocking.
- Check the shell placement before completing the row; symmetry matters more than forcing an extra repeat.
- Keep ties short enough to avoid snagging and remove the collar before laundering the garment.
Ways to customize it
- Use a contrast tie color for a modern detail.
- Stop after one shell row for a narrow collar or add the optional row for more depth.
- Sew the ends to a small button-and-loop closure instead of ties, positioning the button away from the skin.
Frequently asked questions
Can I use crochet thread?
Yes, but use a smaller hook and expect many more foundation stitches.
Why does the collar ruffle?
There may be too many stitches in the decorative rows or the foundation band may be too short.
Can I attach it permanently?
Yes, after washing both pieces first. Pin the collar evenly and hand-sew only through stable neckline areas.
Keep learning
For yarn substitutions, use the yarn selection guide. If abbreviations feel unfamiliar, see how to read a crochet pattern.
Photo: Ivett M / Unsplash.