
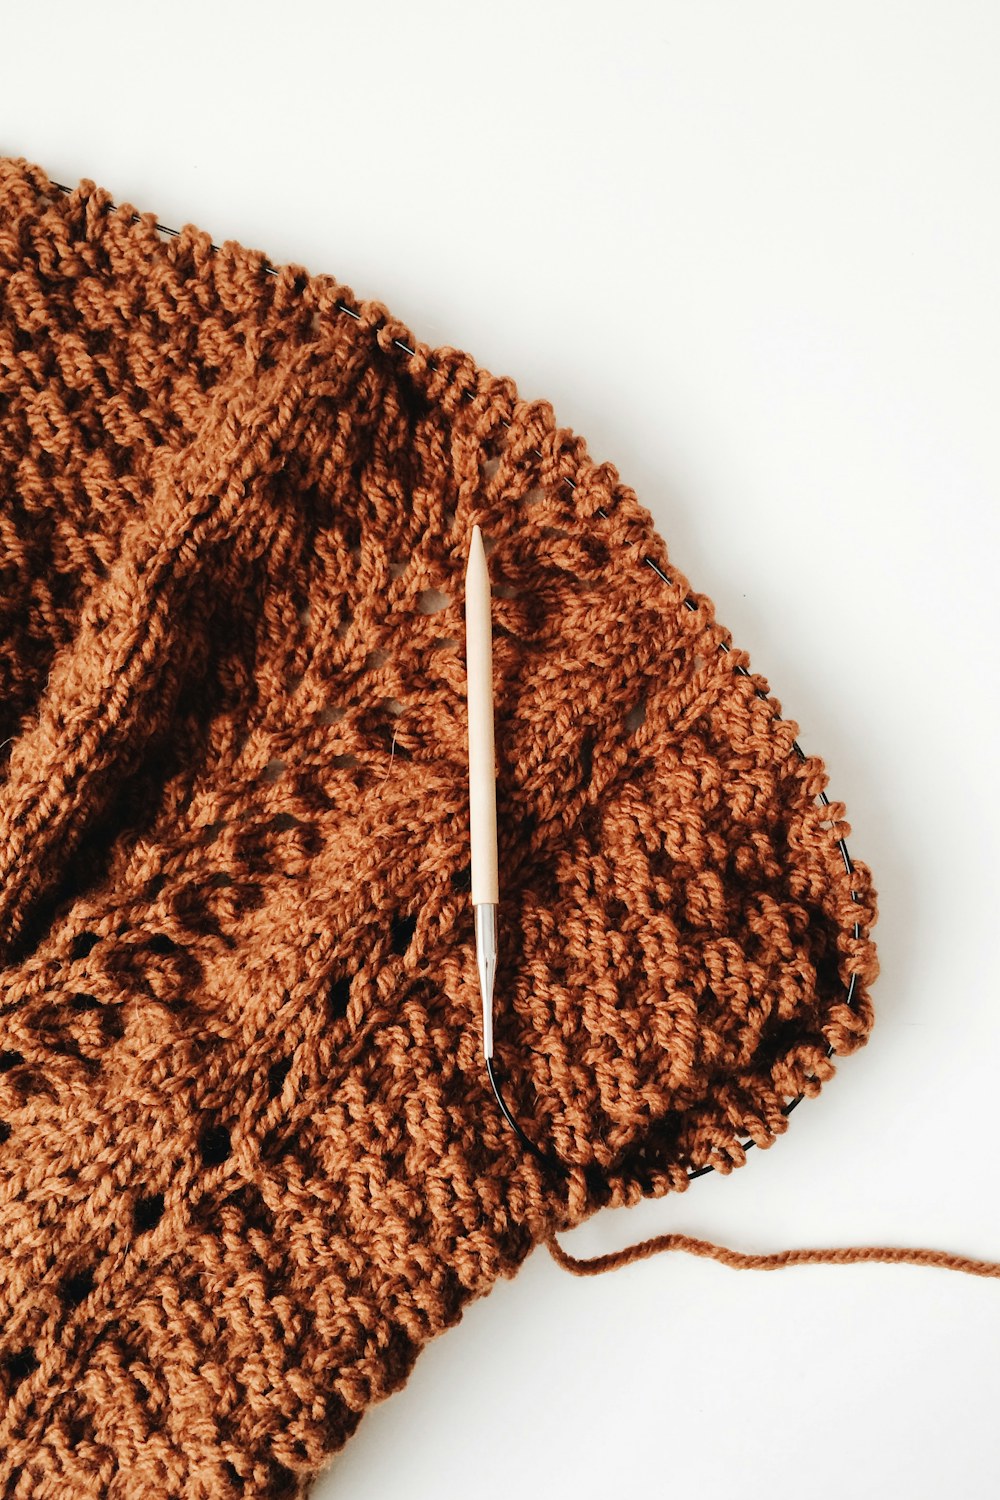
This easy ribbed crochet beanie pattern uses a simple rectangle and a back-loop stitch that looks like classic knit ribbing. After the rectangle reaches the right length, one seam forms the tube and the top is gathered closed.
Because heads and yarns differ, the pattern uses measurements and negative ease instead of promising one chain count for everyone. US crochet terms are used.
Quick pattern details
- Skill level: confident beginner
- Construction: side-to-side rectangle
- Adult sample height: 10–11 in including fold-up brim
- Fit: 1–2 in smaller than head circumference
Materials
- 180–230 yd (165–210 m) worsted-weight yarn with some spring
- 5 mm hook or size needed for comfortable ribbing
- Yarn needle, scissors, measuring tape, and stitch markers
- Optional removable pom-pom
Abbreviations
- ch: chain
- hdc: half double crochet
- BLO: back loop only
- sl st: slip stitch
- st(s): stitch(es)
Before you begin
Measure around the head above the eyebrows and ears. Subtract about 1–2 inches for stretch. Make a swatch in hdc BLO, wash it, and confirm that it stretches comfortably without becoming see-through.
Step-by-step instructions
Set the hat height
Chain until the chain measures 10–11 inches for an adult beanie with a folded brim. For a shorter brimless hat, aim for 8–9 inches. Add one turning chain.
First row
Hdc in the second chain from the hook and in each chain across. Chain 1 and turn.
Ribbed rows
Hdc BLO in every stitch. Chain 1 and turn. Repeat, keeping the stitch count constant.
Check the length
Continue until the long edge equals the target circumference after negative ease. Wrap the rectangle around the head without stretching aggressively; the short edges should meet snugly.
Seam the sides
Bring the first and last rows together. Slip stitch through the back loop of the final row and the unused loop of the foundation chain. Keep each join loose. Fasten off with a tail at least twice the hat width.
Gather the crown
Turn the tube so the preferred side faces out. Thread the tail through the row ends around one opening, pull tight, and work several stitches across the small hole. Knot securely and weave in.
Form the brim
Fold up 2–3 inches at the open edge. Steam or wet block lightly, following the yarn label.
Troubleshooting and useful tips
- The rectangle length determines circumference; its chain length determines hat height.
- If the crown looks bulky, avoid overstuffing the gathered center with knots and trim only after weaving securely.
- Use a yarn with recovery; very heavy cotton can stretch and stay stretched.
- For stripes, change color at the crown edge so the tails are easier to hide.
Ways to customize it
- Make a slouchy beanie by adding 2–3 inches to the starting-chain height.
- Attach a removable pom-pom through the center so the hat remains easy to wash.
- Work two narrow contrast rows near the brim for a subtle color-blocked look.
Frequently asked questions
How many rows do I need?
The number depends on row gauge. Crochet until the rectangle reaches your calculated circumference rather than relying on a fixed count.
Why is the seam tight?
Your slip stitches are probably shorter than the ribbing. Use a larger hook for the seam or sew it with mattress stitch.
Can I resize it for a child?
Yes. Use the child’s actual head measurement, subtract a small amount for stretch, and adjust the hat height.
Keep learning
Before choosing a substitute yarn, read how to choose yarn for crochet. Practice the main stitch with the half double crochet guide.
Photo: rocknwool / Unsplash.